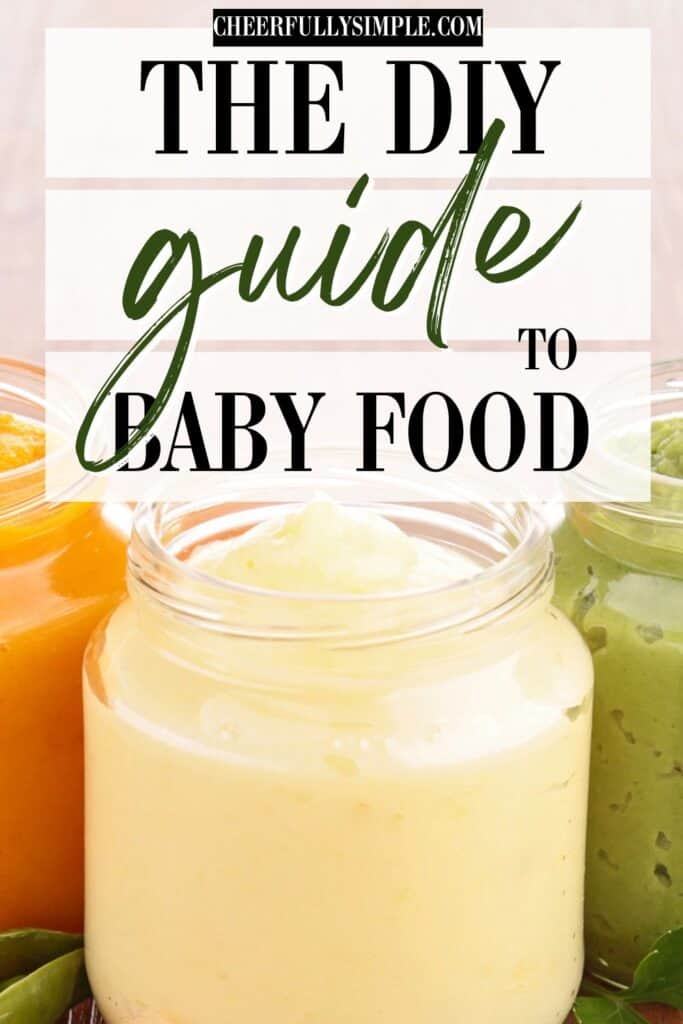
The Best Guide to Baby Food DIY
If you’re like a lot of the moms out there (like me), making your own baby food at home may have never crossed your mind. And if it did, you probably got rid of that idea fast because surely baby food DIY is a TON of work!
BUT…
What if there was a SIMPLE way for you to make your own baby food right at home without a bunch of time or crazy equipment? Would you do it?
When we made the decision to start making our own baby food, I was working full-time as a teacher. I was also still breastfeeding and pumping at work. I’m not going to lie, it was a lot. But, looking back now, it was worth all of the time and effort because all of my kids eat well. I truly believe making baby food at home was the foundation for them eating just about anything we make for them!
There are some really great resources available about the sequence of food you should give your children. I found a solid foods chart from Wholesome Baby Food that I really like. I like that it provided me with some choices but kept it pretty simple and straightforward.
I also liked that it gave me a place to make notes. I didn’t realize it then, but I used the dates of when I had given each food to our first as a guide and resource when our second started on solid food.
Let’s talk about where to start making baby food at home!
*This post may contain affiliate links, which means I receive a small commission, at no extra cost to you, if you make a purchase using this link. I only recommend products I love or would personally use.
Benefits of Making Baby Food at Home
Taste of the Baby Food
Homemade baby food tastes better. You probably like food you make from scratch versus something you scoop out of a can. The same can be said for the baby food you’ll soon be making for your baby.
Controlling What’s in Your Baby Food
You get to choose your ingredients. You can decide if you want regular produce or organic produce. You get complete control over the foods you choose to give your baby!
Texture
You know your baby best. You also have a better idea of their gag reflex as well as their ability to swallow baby food. You can choose to make complete purees or to leave your baby food a bit thicker.
Peace of Mind
This was a big one for me. I felt better knowing EXACTLY what I was giving my kids. I didn’t have to wonder exactly how the baby food was made because I made it myself.
$$ SAVINGS
I found that making baby food at home saved us a good amount of money. You should add up how much you’d spend in buying jars/pouches of baby food for a week and then compare that to buying a week’s worth of fresh fruits and fresh vegetables.
How to Know When Your Baby is Ready for Solid Food
- Can your baby sit up on their own?
- Does your baby seem interested in what you’re doing when you’re eating food?
- Is your baby at least 4 months old? (Some pediatricians recommend waiting until 6 months)
- Does your baby seem hungry despite trying to meet their need with breast milk or formula?
- Is your baby getting the recommended amount of breast milk or formula for their age?
If the answer to these questions is yes, talk with your pediatrician because your baby may be ready to start solids!
Baby Food DIY- First Foods
The first food we chose to give our kids was avocado.
I know, most people start with iron-fortified cereal, but I did a lot of research (which I would encourage you to do as well) and discovered that a baby’s belly just isn’t quite ready to break down grains until a year old.
There is an enzyme in the gut called amylase.
I learned that babies do not make enough of this to digest grains until at least 1 year of age. Amylase is used to help break down starch, which can be found in cereals. There are a lot of sites out there with a lot of information!
(I would HIGHLY encourage you to do your research as I have no medical background to speak from. I would just suggest that you educate yourself and make your own choices for your little ones.)
Which types of fresh produce should I choose?
Is it important which fruits and vegetables are organic versus non-organic?
That’s totally up to you!
When we started making our baby food for our kids, I found a list of the 2024 top 12 Dirty Dozen foods from Eating Well.
We kind of let that be our guide, but I would also personally add potatoes to that list.
Another resource we used was this list of 15 foods you don’t need to buy organic from Eating Well.
Eating organic can certainly be more expensive, so having some resources to help you choose the right types of fresh produce is important.
Why did we choose to even worry about buying organic vegetables? Great question!
Before having kids, I can’t honestly say that it was something that crossed my mind very often. We just ate whatever was on sale.
But when we had kids, I wanted to make sure that I was providing them with the best nutrition I could based on my knowledge of food. With things like autism and learning disabilities on the rise and the fact that we often don’t know what causes these things, I knew the food was one thing I could have control of and try to do what I felt was best for our kids.
Different Ways to Make Baby Food at Home
There are a couple of different cooking processes I used when making baby food at home. There are 4 main methods of cooking and preparing baby food.
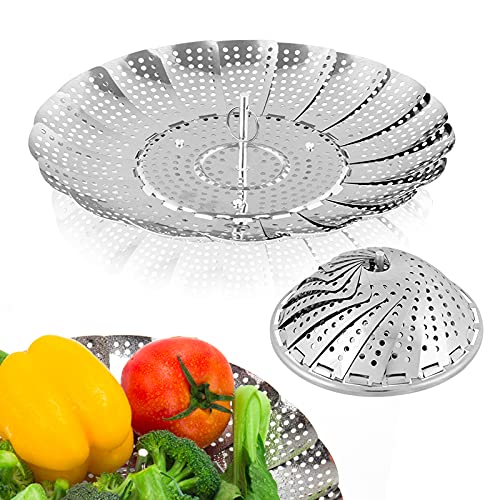
Steam Your Produce to Make Baby Food
We usually steamed most of the food in a vegetable steamer basket. The process of steaming baby food is very straightforward. You will take a medium or large saucepot. The steamer basket opens up and sits right on top of the pot you’re using. Then, you put your raw fruits or vegetables on top. You can then put the lid on top if you want, but you don’t have to. When the produce you’re cooking is soft, you’ll know it’s ready. Then, you’ll want to blend it. More on that in a minute.
Boil Your Produce to Make Baby Food
I boil carrots in a pot on the stove in water until tender. I have found boiling some of the harder vegetables to be much easier and faster than steaming them. I know you likely lose out on some of the important vitamins and minerals in the water, but I have a solution for that. I don’t throw the water out until I’ve made the baby food. Carrots produce a pretty thick puree, and I always added back some of the water from boiling to thin it out.
Roast Your Produce to Make Baby Food
One of the foods we cook in the oven most often is sweet potatoes. We put them on a cooking sheet and place them in the oven at 350 degrees for an hour. I let them cool and then peel out the inside of the potato. Much like carrots, sweet potatoes make a really thick baby food puree once blended. I recommend adding some water to thin out the baby food.
Use Raw Fresh Produce for Baby Food
As I mentioned earlier, one of the first foods we gave our kids was avocados. We did nothing with the avocado except skim the spoon over the avocado pulp so that it was palatable for our baby. You don’t want to take a chunk of avocado and give it to your baby, who is just learning to eat baby food. Another food we fed our kids was bananas. Any food that you can safely feed your baby in its raw form will maintain most of its vitamins and minerals.
Blending Tools to Prepare Baby Food At Home
We could have used our regular blender to blend the food, but I have a Magic Bullet that I like to use instead. A lot of moms I know have bought the Baby Brezza food processor, and others use the NutriBullet Baby Food Processor. Any of these would be a helpful tool to make baby food at home.

Useful Kitchen Tools for Making Baby Food at Home
One of the biggest priorities for me when I started making baby food at home was finding products that make baby food DIY easy!
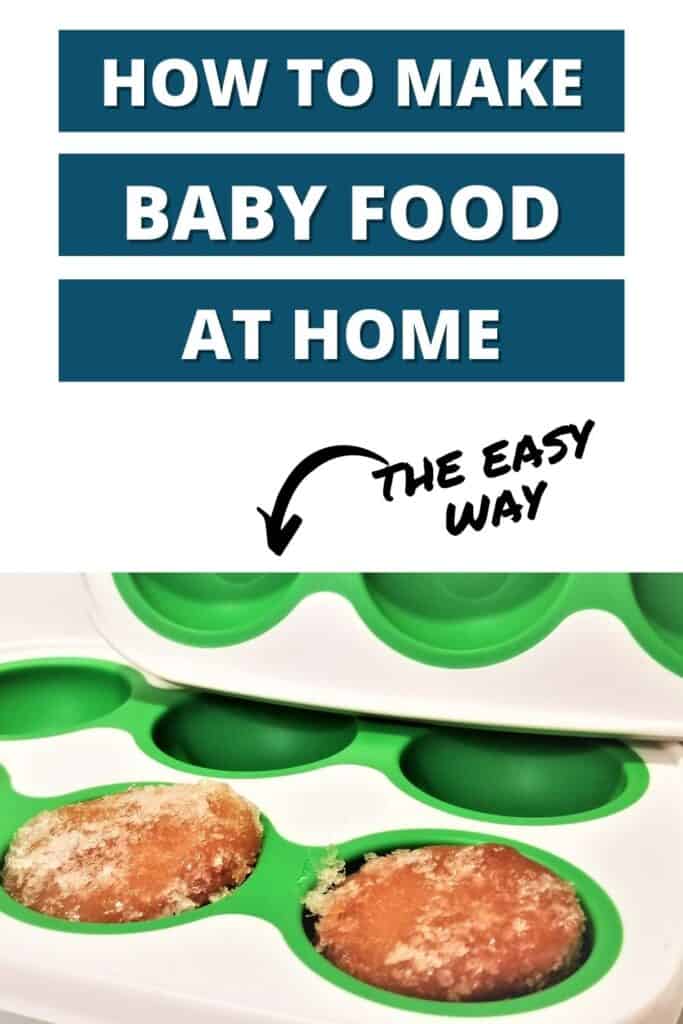
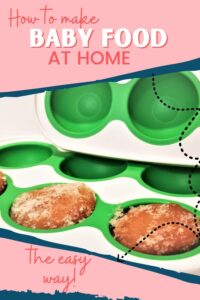
One of my favorite products is these silicone baby food storage freezer trays. They’re amazing! All you do if put your prepared baby food in them, put the lid on, and then put them in the freezer.

Once the homemade baby food was frozen, I popped it out and put it in a labeled plastic freezer bag for storage.
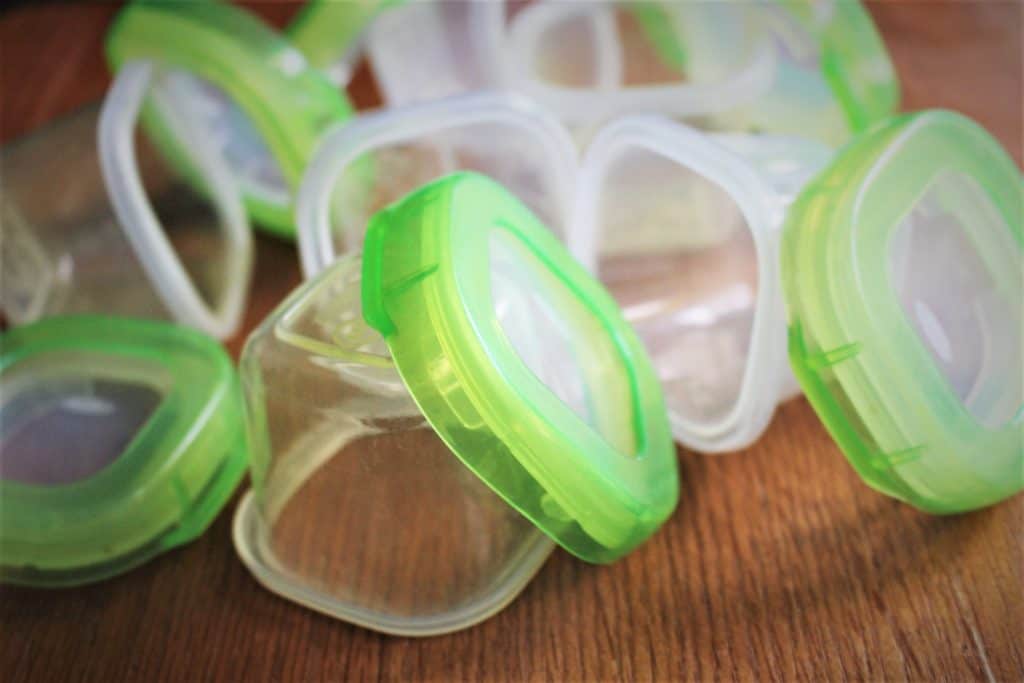
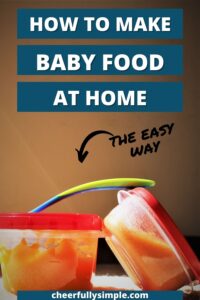
We also use these OXO TOT baby food storage containers. They were great for storing baby food in the fridge and freezer, and the awesome part is that as your kids get older, you can repurpose them for snacks!

Steps to Make Baby Food at Home
Alright, so now that I have shared everything you need to know about making baby food at home, here’s the basic overview.
Step 1: Choose your fresh produce.
Step 2: Choose your cooking process for the fresh produce you chose, and cook your baby food.
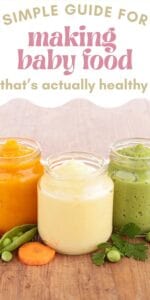
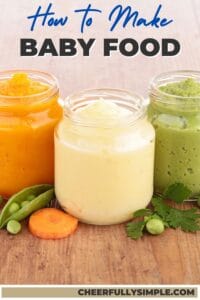
Step 3: Allow the cooked food to cool and make your baby food puree.
Step 4: Place in a storage container for immediate use, or transfer the baby food freezer trays.
Step 5: Place the lid on the baby food freezer trays and place them in the freezer overnight.
Step 6: Pop the frozen baby food out of the silicone trays and place it inside labeled storage bags.
The baby food you place in the freezer bags can be stored for about three months.
When should you start making baby food at home?
I always try to start making baby food about 3 months before my kids need it. I do this because I always need to process and freeze whatever fresh produce is currently in season. Otherwise, your baby will miss out on trying some of those first foods.
How to Thaw Frozen Baby Food
Step 1: Take the right number of baby food cubes and place them in a glass dish
Step 2: Microwave the frozen baby food in 15-second increments until the baby food is thawed and slightly warm. Make sure you stir the baby food well to avoid hot spots. Always be cautious when giving your baby food that has been heated in the microwave.
You can also take frozen baby food cubes out the night before and place them in a container in the refrigerator. You may still need to warm the food slightly if your baby will only eat that particular food warmed up.
How do you introduce baby food?
There isn’t a magical way to introduce your baby to baby food purees. The idea behind baby food is to teach them how to eat food off a spoon and to swallow the baby food.
Introducing baby food purees should be done slowly. Let your baby pace how much and how often. You should also only introduce a new food every 3-4 days in case your baby begins to show signs of a food allergy.
I hope this has given you some food for thought or maybe some direction and inspiration for baby food DIY!
If you have any questions or want to share your experiences, let me know in the comments. I love to hear from you!
Awesome Baby Tips!
The Must-Have Beach Essentials for a Baby
Genius Baby Proofing Hack Every Parent Needs to Know!
How to Help Your Congested Baby at Home
The Best High Chairs for Baby-Led Weaning


The owner of this website is a participant in the Amazon Services LLC Associates Program, an affiliate advertising program designed to provide a means for sites to earn advertising fees by advertising and linking to Amazon properties including.
Hey! Thanks so much for sharing all your knowledge and incite! This was such a helpful read as we try and navigate our food choices for baby! Quick question… what is the shelf life in the fridge vs the freezer for your diy baby food?
For me, depending on what it is, I usually only keep it for a week. But I often find that based upon the batch size, I go through all of it before it goes bad.